Part 2
Visual FX
End result and explanation of techniques used
About the video: In this video I explain how my effects are made and you'll be able to see them implemented. The video itself is 11.37 minutes long, my apologies for the length.
|
|
|
|
the progress
i watched a lot of youtube videos to learn how vfx worked. Mainly also because the lessons we had about vfx were about shader forge and unity 5, but I was making my effects in Unreal Engine 4. I had no experience with this engine, but I wanted to use my effects in the group project I was running atm. In the end you'll see a video where the effects are implemented in the game environment.

|
|
|
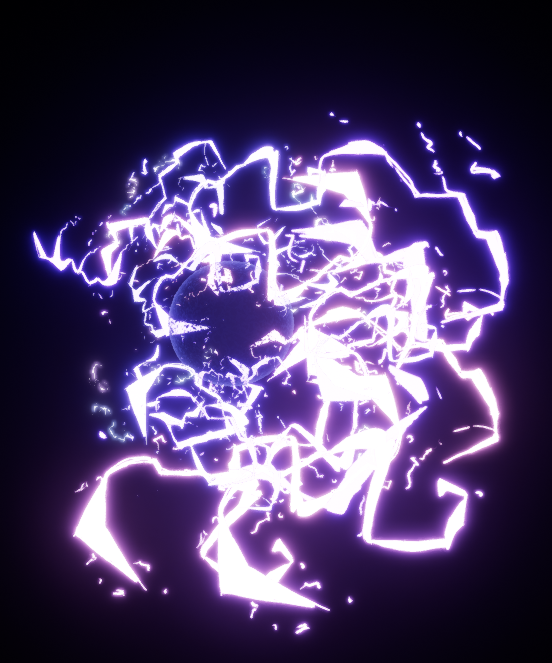
First I started with the lightning bolt, I followed a tutorial that would tell me the basics of vfx with the help of spritesheets. This was the first result, a bubble with a distorted material effect, I used a fresnel node for the lighter edge of the ball. Around the ball different lightning particles were spawning. I had some trouble to figure out how to use the spreadsheet technique in cascade (the particle edittor of UE4) but Aaron helped me during one of the lessons.
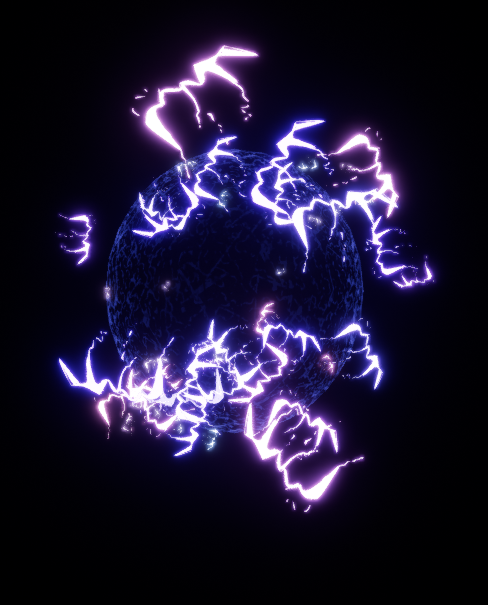
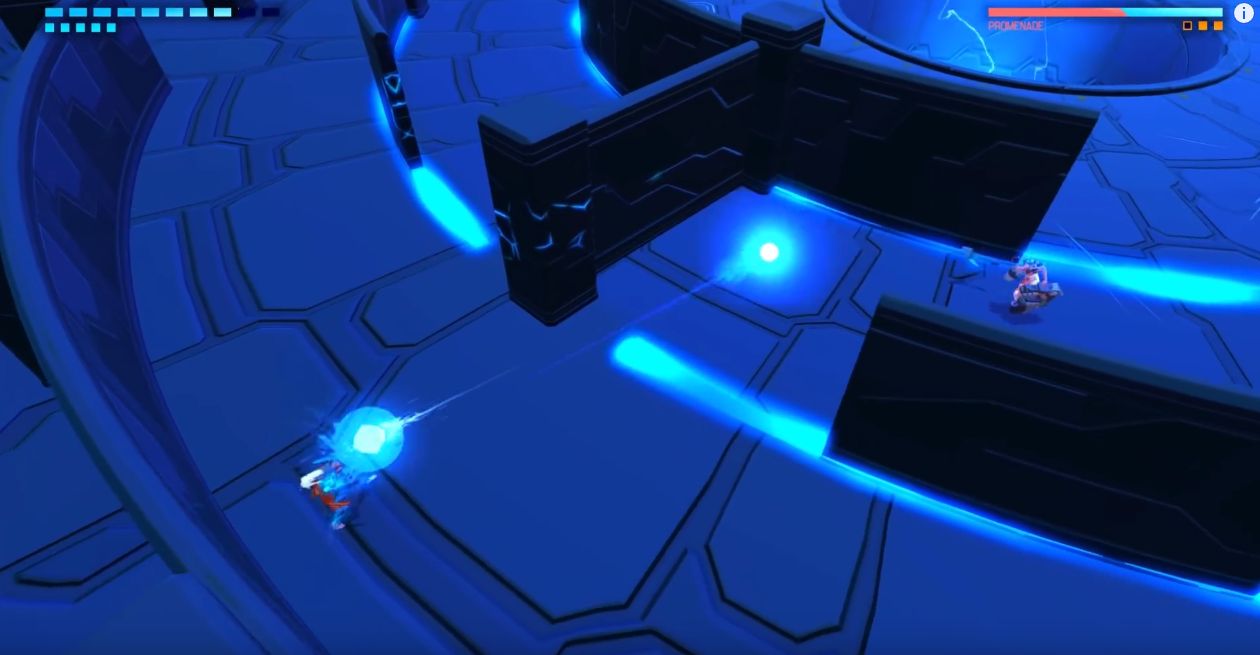
After this i decided to look at how the particle would look in the game, and it turned out that it was not the was I expected it to work. When the projectile was fired, a black ball with a fresnel would fly around with some sparkles. That's when I decided to use a mesh based particle, because this would hold the effect I wanted to have longer and I would have way more influence on it's behaviour this way. |
Here is my first attempt for creating a mesh based particle. I re-used the spreadsheet technique for the particle lightning animations. After playtesting this effect I decided I wanted to continue with the mesh based particle technique.

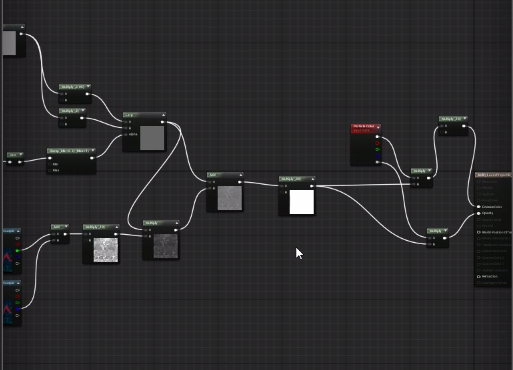
I made a few material and color changes, I also decided to try and take a look if there was any room for optimalisation techniques. This way I stumbled across a technique which combines 3 textures into 1, which you want to use in 1 or more materials. You put every texture in photoshop in a different channel, like the Red, Green or Blue channel, and in the material editor in UE4 you can extract the different textures

|

|

|
finetuning
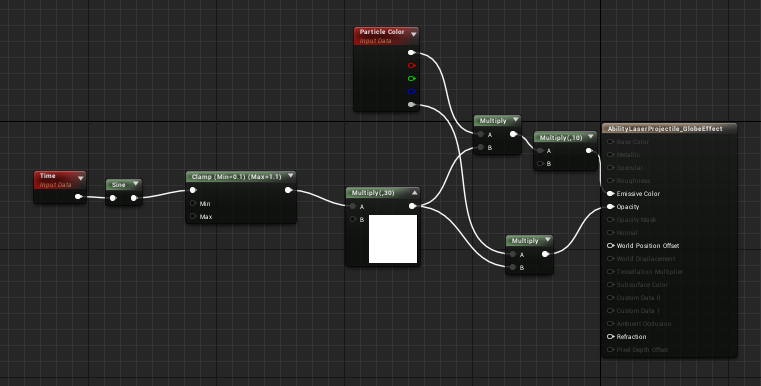
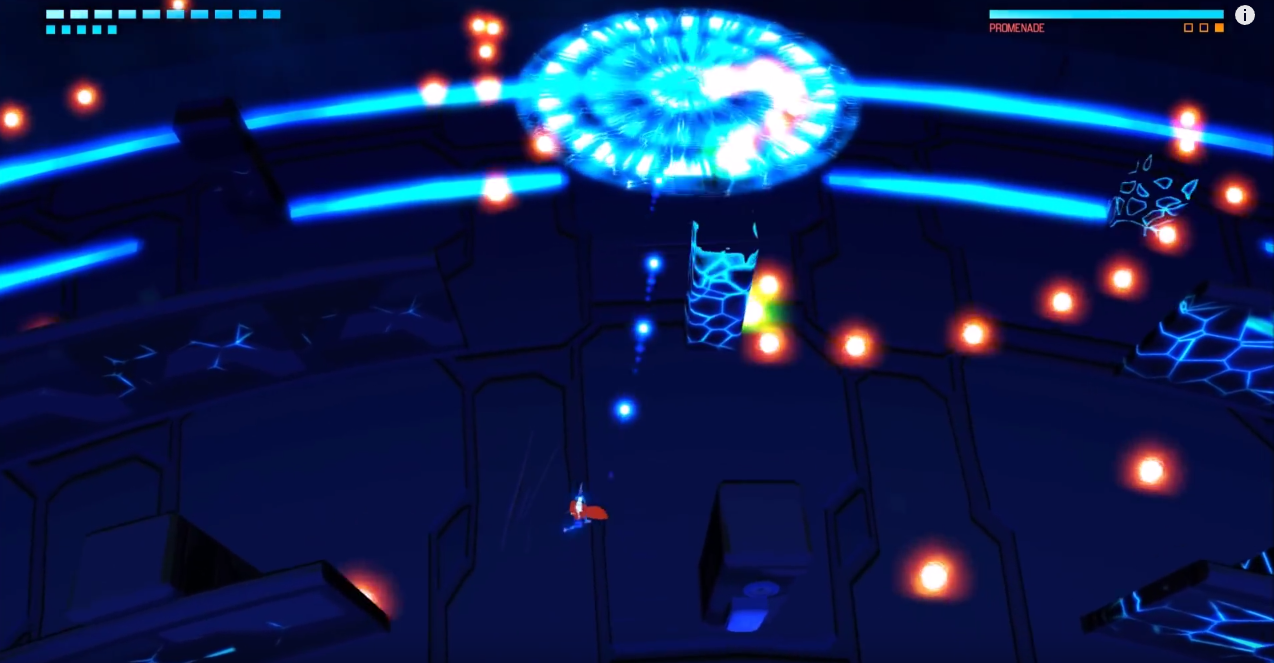
the effect needed some more light, so i multiplied the emission color by 50 and tadah! is was blooming! after testing this once again, I decided that it could be a bit less blooming, because the whole area would bathe in blue light, which was not my intention.
|
|
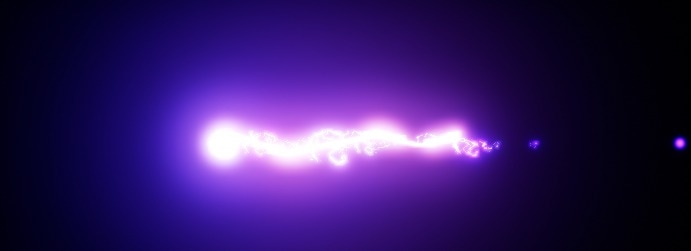
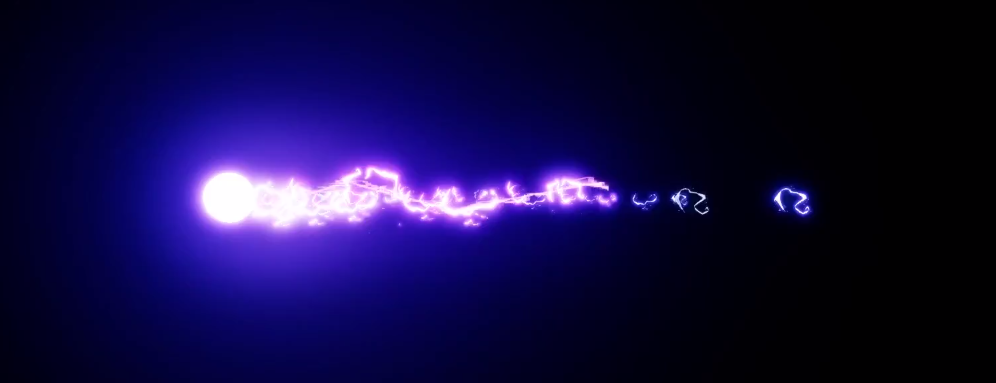
After this, I did a final material cleanup to remove all the nodes I'm not using. For example, the material used for the head of the lightningbolt. I used a lot of distortion there, but you can't see this in game, so it's better left out.
|
Before
|
After
|
the plan

|
I will be creating my VFX for my group project, Bound Core. This is a futuristic game with a very retro, neon light, flashy style. The game will be made in Unreal Engine 4, I haven't worked with this engine before, so I expect to learn a lot with this module.
First I was aiming to make one of these VFX fully and explain the design progress. I will make the other one as well, but I won't explain the design process about that one. Later on I decided the VFX that I will be keeping track of in these blog posts will be the lightning bolt projectile. I have learned the most with this one, because a lot of different elements were treated. For the electro bolts I will be working with Cascade (the UE4 particle edittor) and with the material editor of UE4(it's very similar to Shader Forge in Unity 5) |
fascination/inspiration
for the vfx style i was very much inspired by Furi, the contrast in the color palette was very appealing. The color palette and the timing/movement of the vfx were my guidelines .

|
|
|
Part 1
Environment optimalisation
End result
More building blocks, smaller models. Objects set to static. Lights are baked.
Textures for the models are changed to a 512 tiling texture resolution, not a 2K. These textures are smaller, with a stone texture.
Because of the normal maps and the lightning you won't see the quality loss
The normal maps and specular maps are reduced to a 1K texture.
AO maps are removed because they didn't really made a difference.

A bit less overdraw, scene cleaned up. Smaller sprites

CPU dropped to a maximum of 12.7 ms

Optimalisation plan
|
Bottlenecks
- heavy realtime lightning - too big models - textures too big resolution |
Solutions
- baking lights - smaller chunks of big models and using building blocks - smaller and/or tiling textures I will also take a look if I can reduce the overdraw. |
What it looks like before optimalisation
total overview

overdraw total view

|
CPU at its lowest: 13.6ms

|
CPU at its highest: 14.2ms

|
